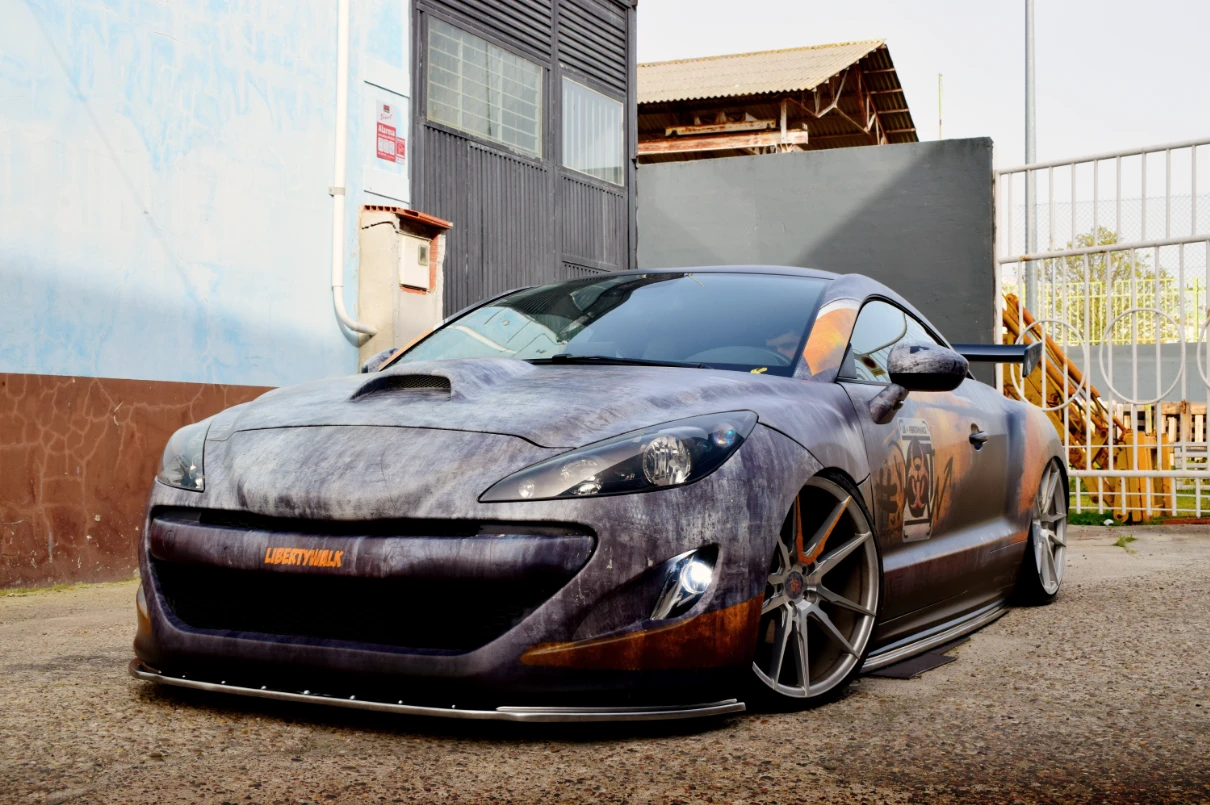
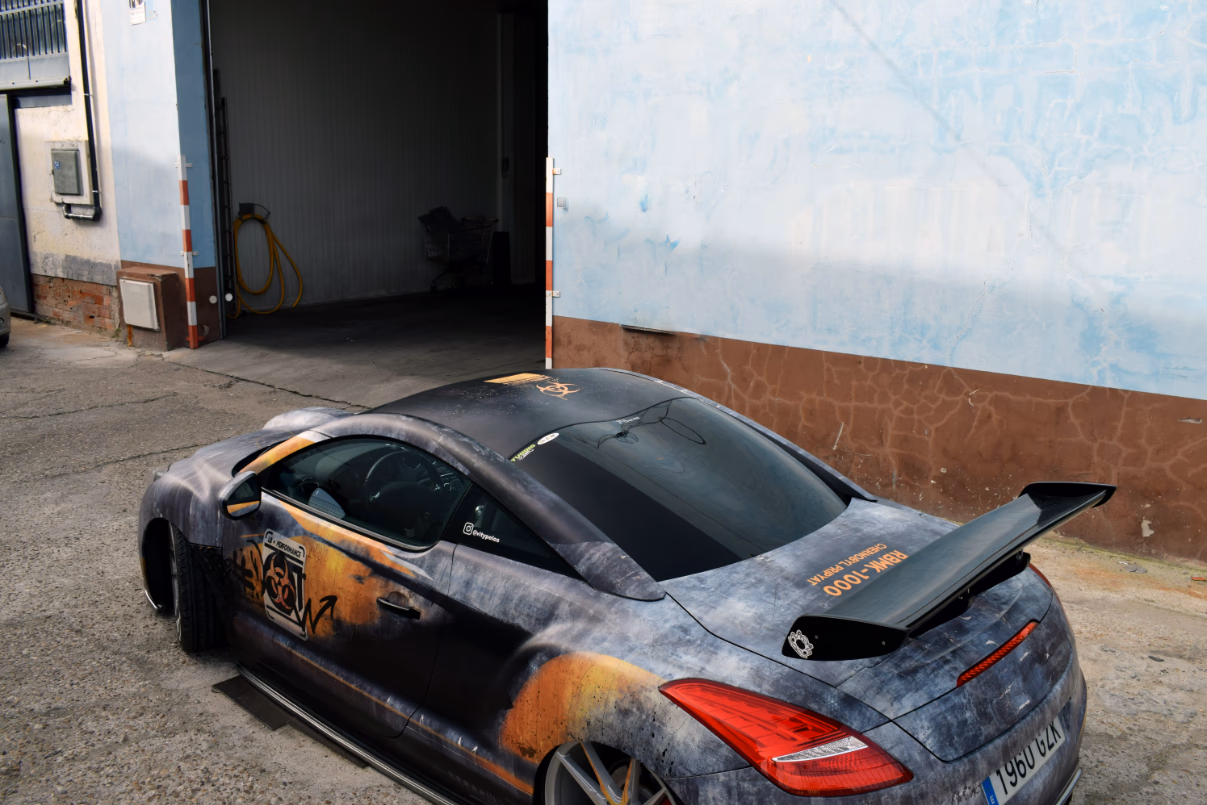
Final result · 8 views
Role
Designer & Installer (solo)
Duration
120 hours · February 2024
Type
Client Project · Graphic + Industrial Design
Tools
 Illustrator
 Photoshop
 Wacom
Wacom
Overview
The Brief
"I want a full wrap that looks like the car survived the end of the world. Rust, radiation, decay. The whole apocalypse."
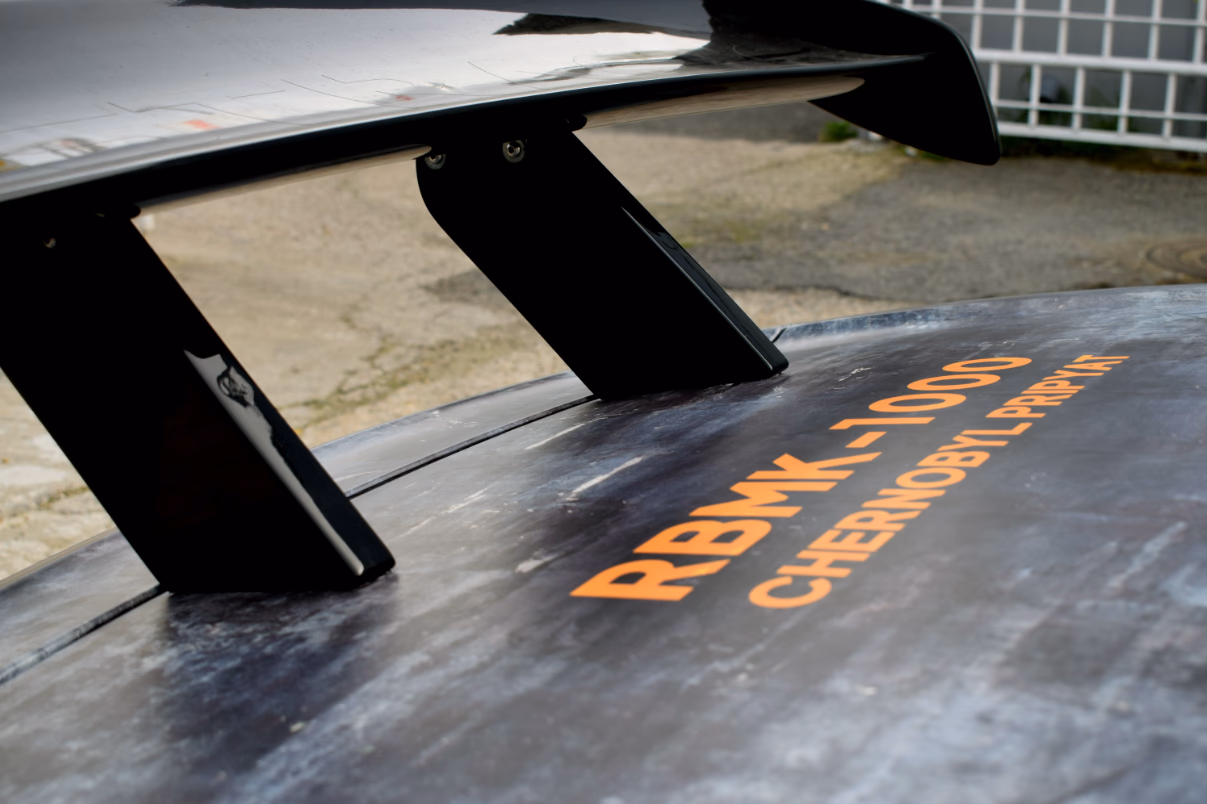
The client owned a Peugeot RCZ tuned by a specialist bodykit shop. The base car was a black RCZ widened with a full custom bodykit and rear spoiler, already a head-turning starting point. His brief was unambiguous: he wanted a complete vinyl wrap with an apocalyptic, post-nuclear-explosion aesthetic. Rust, radiation symbols, graffiti, decayed textures, the visual language of a world that had already ended.
The project required end-to-end ownership. No template, no stock wrap. Every graphic had to be original, every texture adapted to flow with the car's widened forms, and every seam planned so it would survive a skilled installer's stretch and heat. Concept, design, print prep, production, and panel-by-panel installation were all carried by a single person.
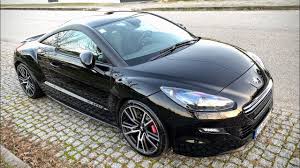
Stock RCZ reference
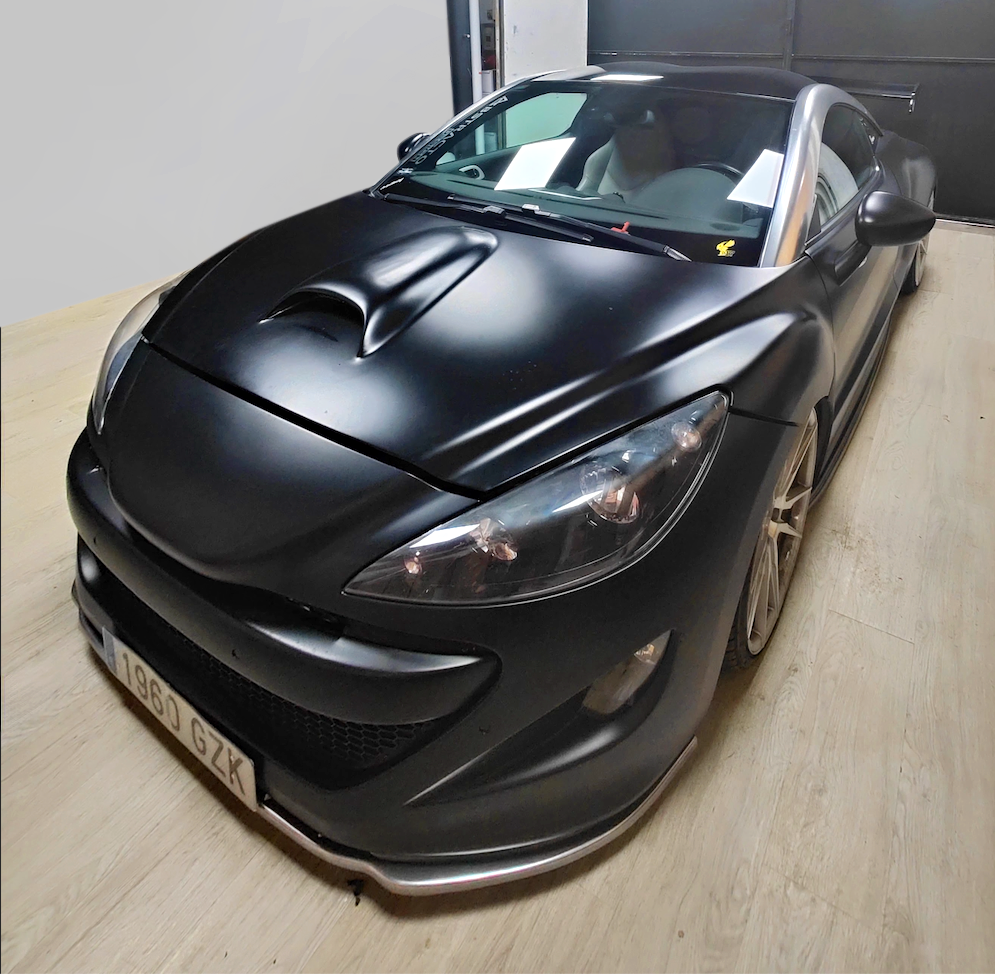
Client's car before the wrap
Phase 01, Concept & Planning
Panel Measurement & Visual Direction
The first step was a detailed conversation with the client to lock the visual language: post-nuclear, not just rusty. The aesthetic had to feel like the car had been abandoned in a radioactive zone, then found and tagged by survivors. Radiation warning symbols, corrosion streaks, hand-sprayed graffiti, and the muted, desaturated palette of decay.
With the direction agreed, every panel of the modified car was measured and mapped in Illustrator. A widened bodykit changes the geometry significantly, and the wider fenders, side skirts, and rear bumper extensions all needed individual templates. The critical decision at this stage: planning the texture direction so rust streaks and radiation zones would flow naturally with the car's body lines rather than fighting them, and so the graphics would land cleanly after the stretch and heat of installation.
Graffiti graphics and radiation warning zones were sketched and vectorised in Illustrator at this stage, defining where the bold graphic elements would sit before the Photoshop composition began.
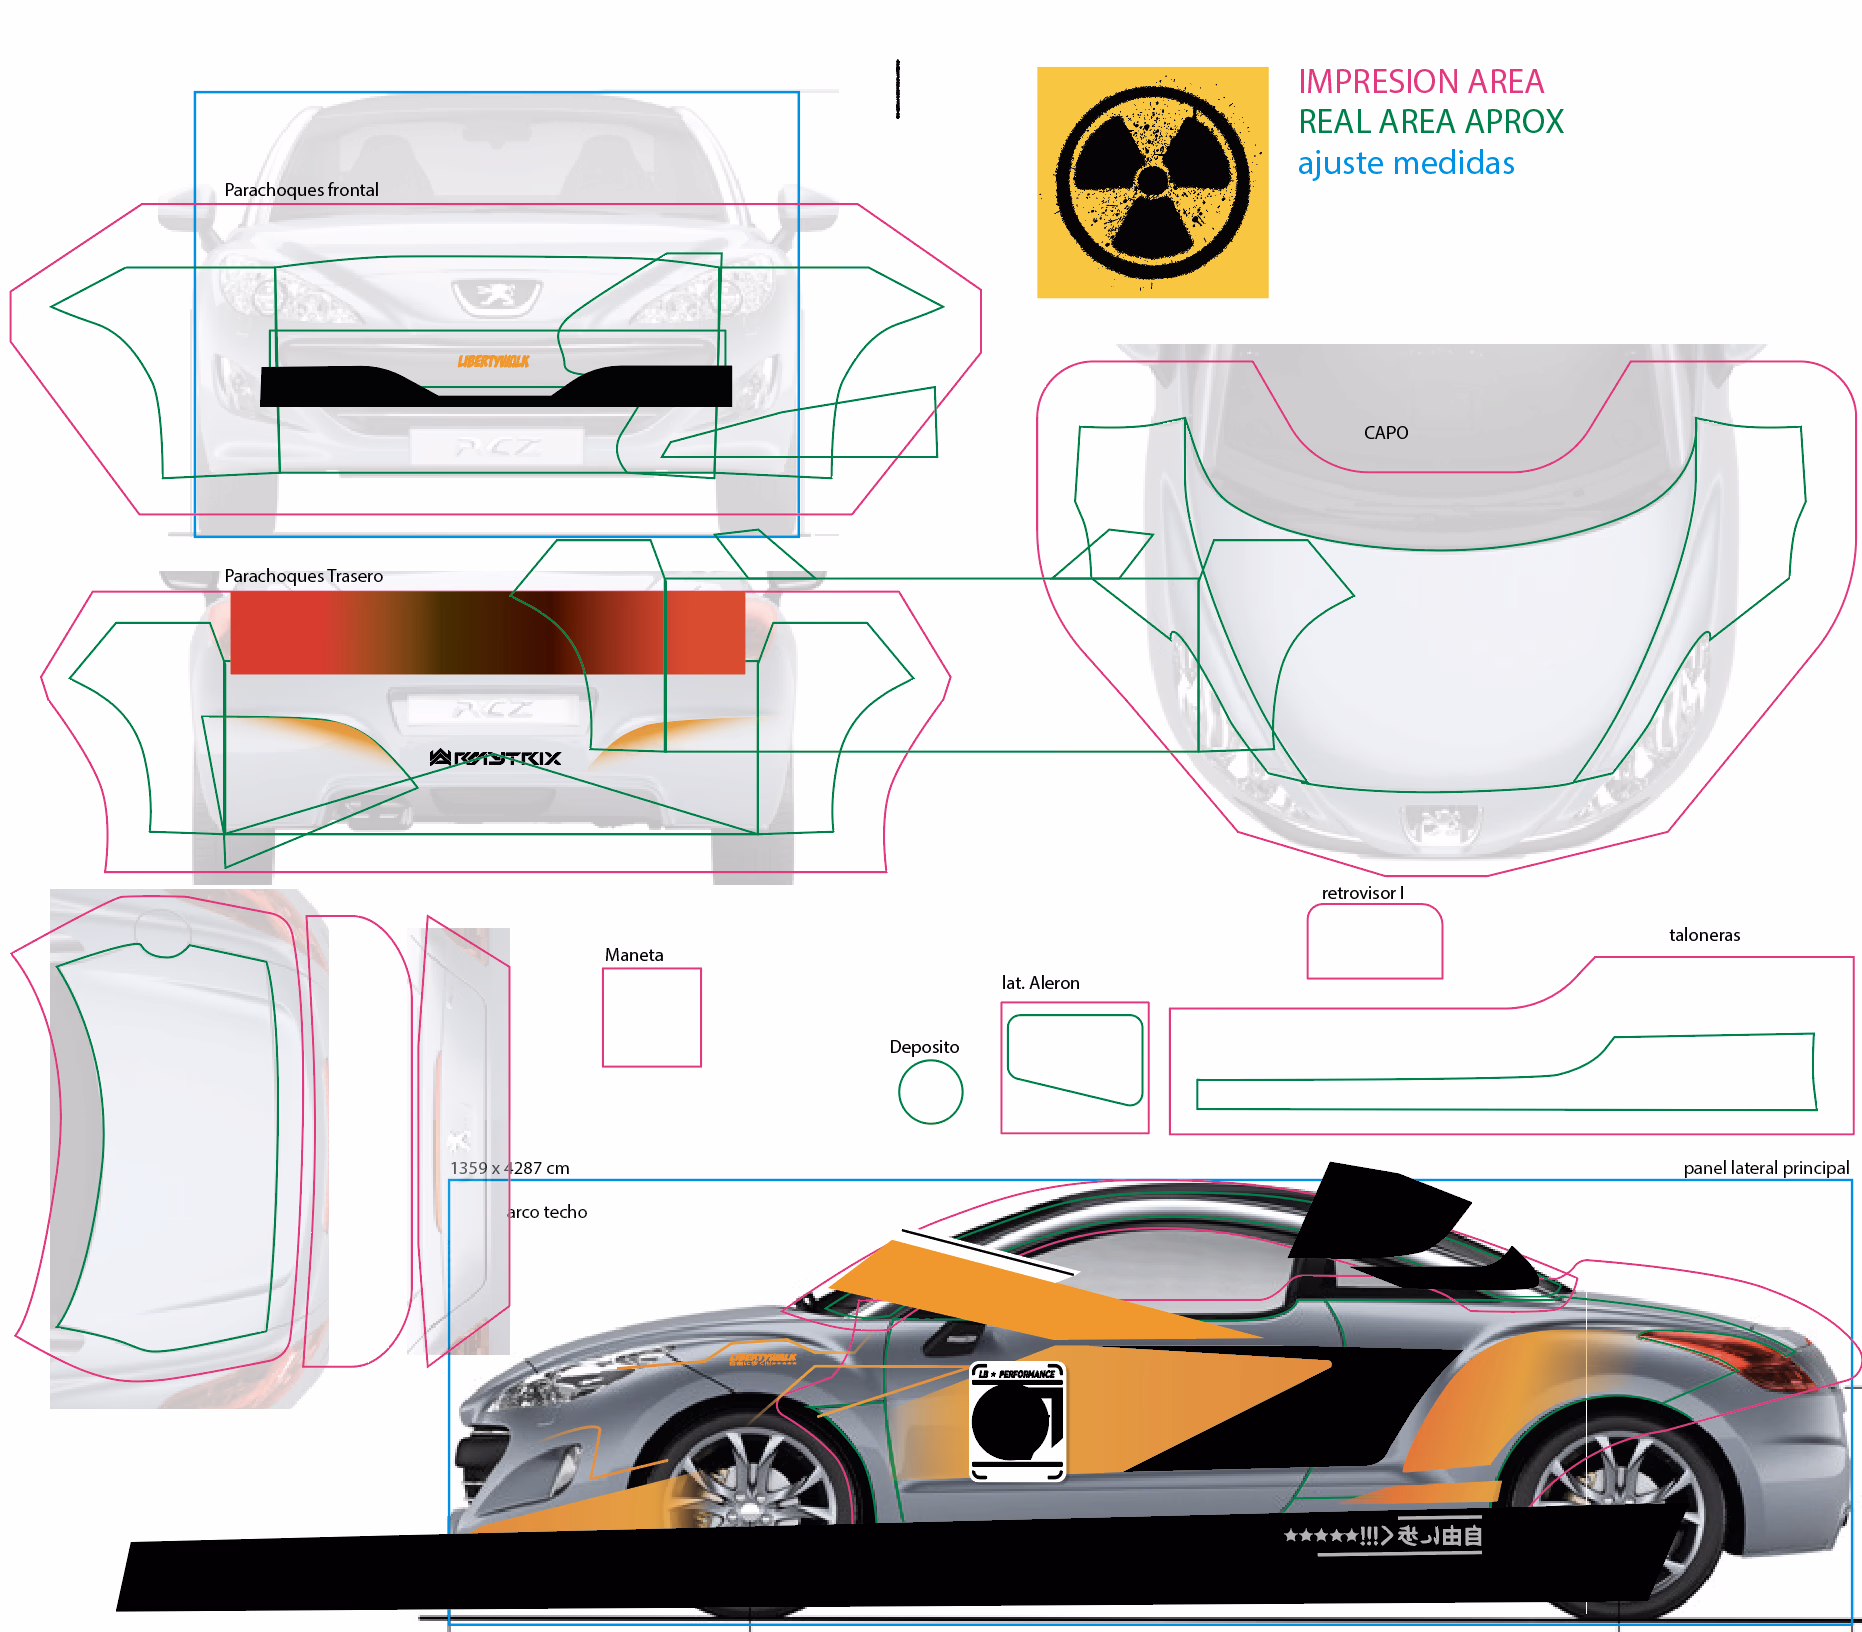
Illustrator panel development: texture direction mapping and vector graphic placement
Phase 02, Texture Composition
Photoshop View-by-View
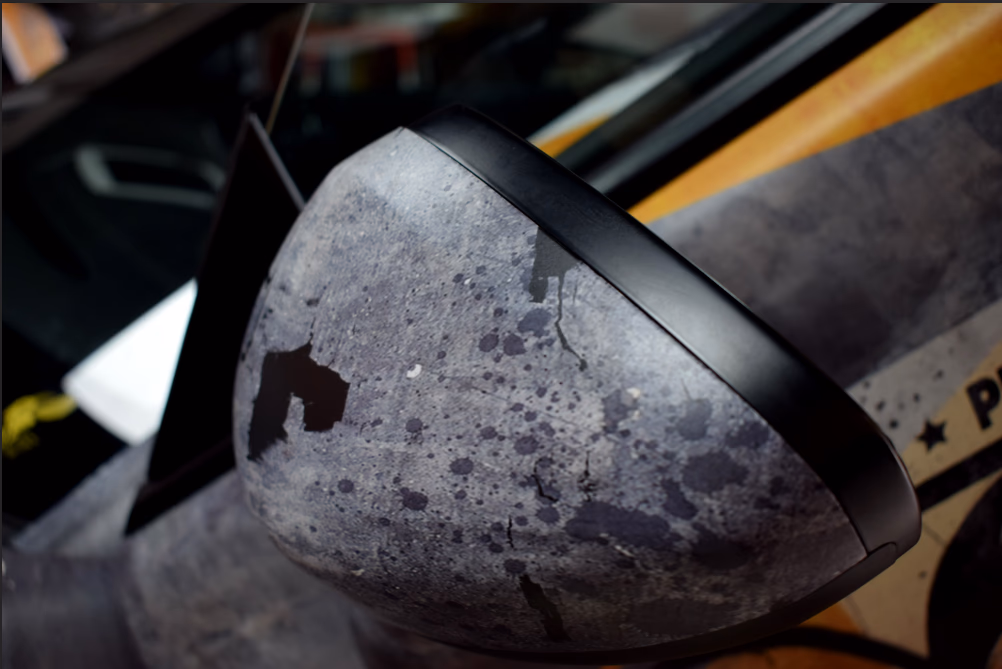
Each view of the car was composed individually in Photoshop. Rust and radiation textures were sourced, then adapted to the required panel directions using Photoshop's mesh warp tool, bending and stretching the texture grain to follow the curve of each body panel as it would appear after installation.
The source textures were too small for the scale of the car at print resolution, so a long manual copy-and-edit process was necessary to build up the surface without visible tiling. Sections were offset, hue-shifted, and blended with masks to break up any repeating pattern. This was the most time-intensive part of the design phase, and getting it right was what separated a convincing organic decay from an obvious tile.
Mesh Warp Adaptation
Every texture was warped to follow the direction of its panel so rust streaks and corrosion patterns flow with the body lines after installation stretching.
Anti-Tiling Work
Source textures were too small for full-car scale. Manual offset, hue-shifting, and mask blending eliminated all visible tiling at print resolution.
View-by-View Composition
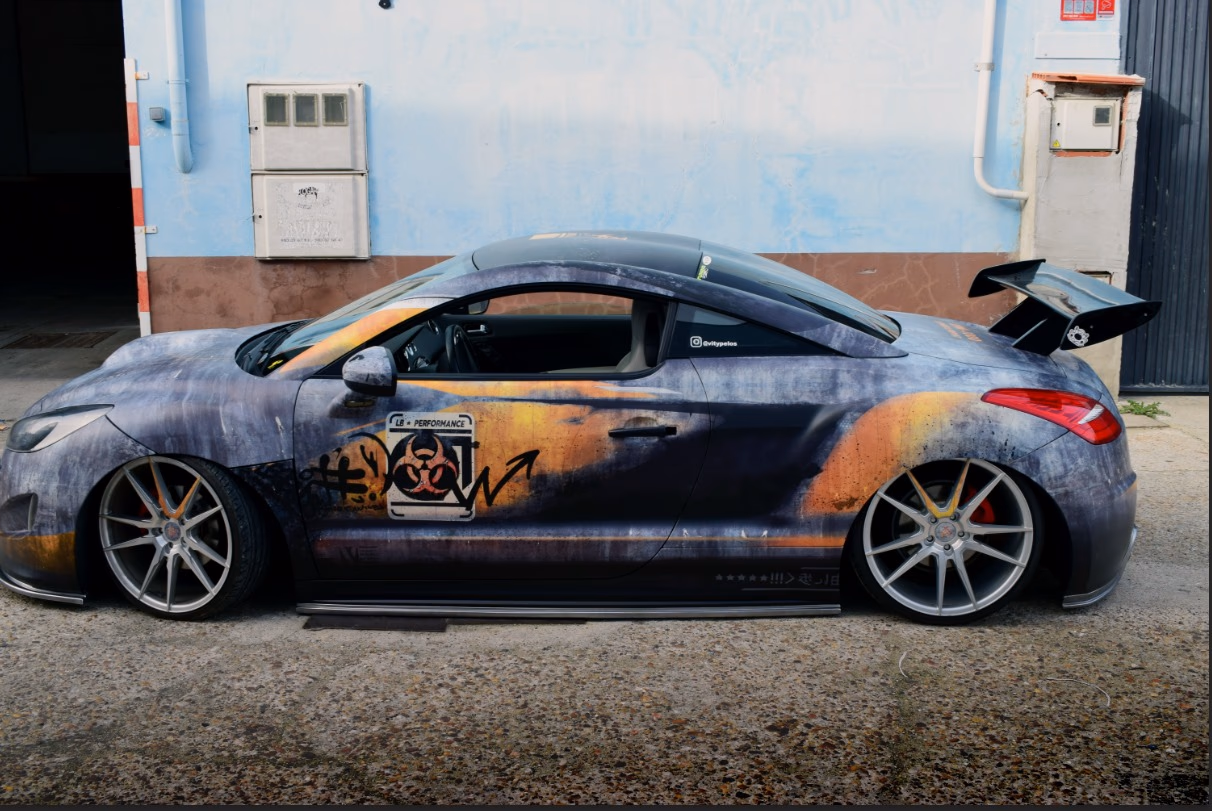
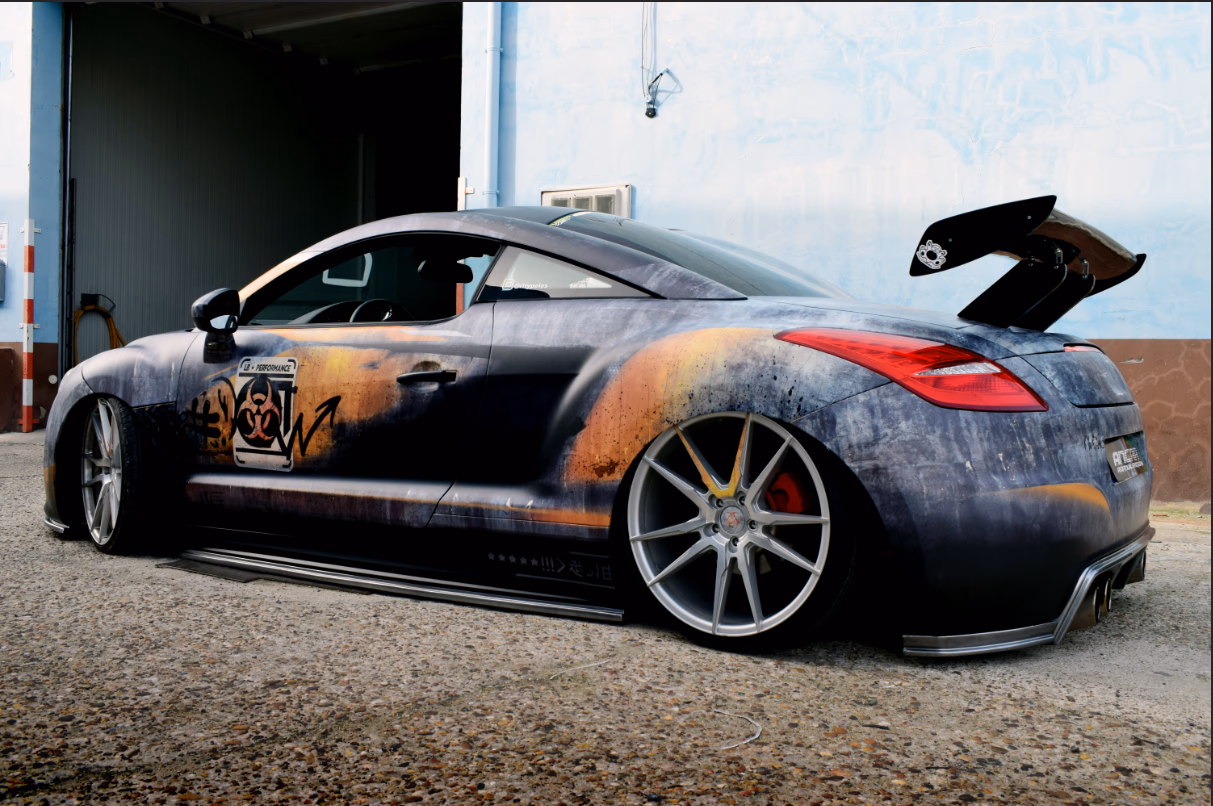
Front, rear, both sides, roof, and bonnet were each composed separately, then cross-checked to ensure the decay narrative read consistently around the entire car.
Phase 03, Illustration
Hand-Drawn Graphic Elements
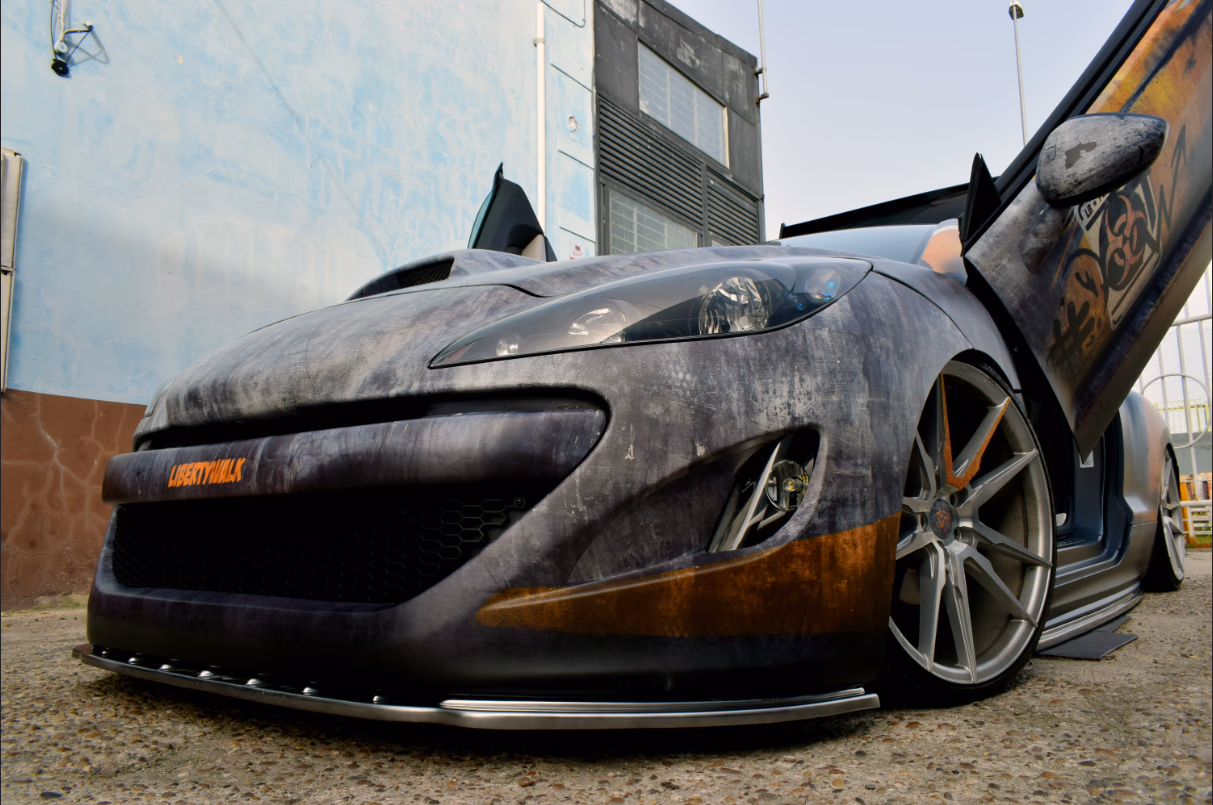
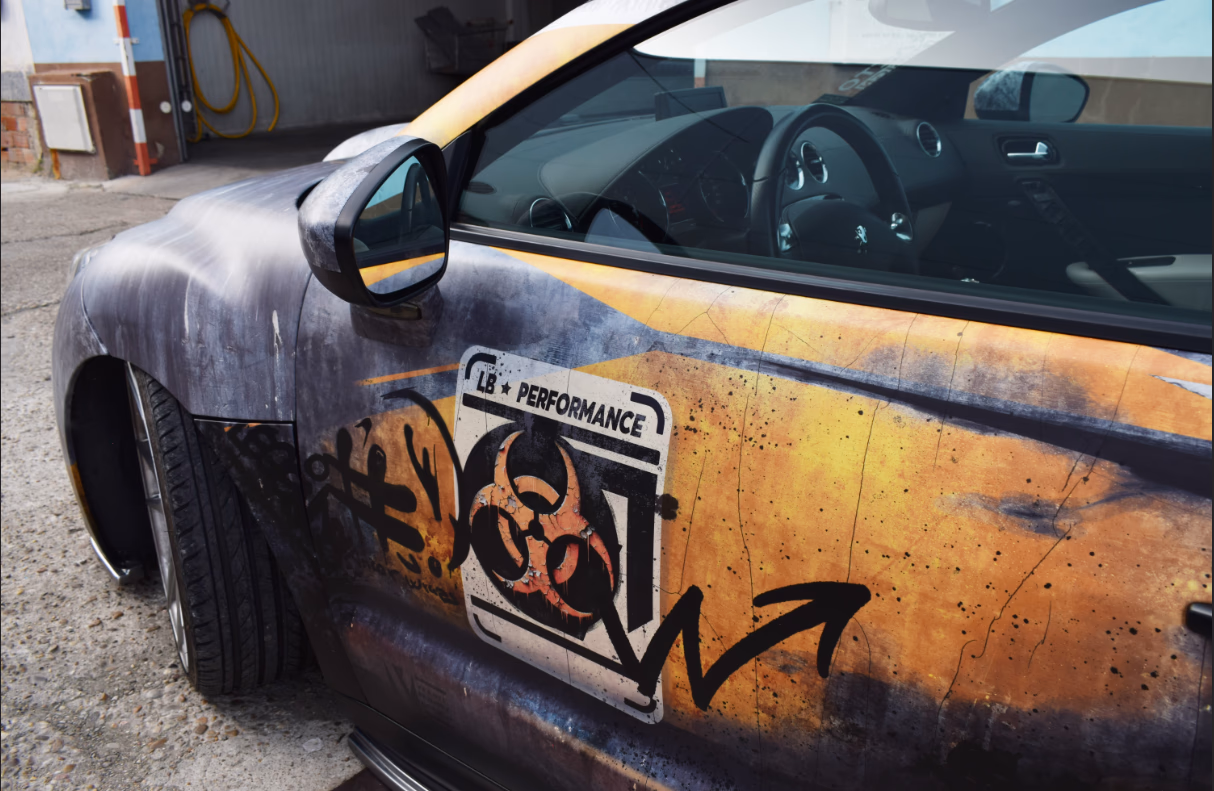
The texture base alone was not enough to tell the story. Hand-drawn graphic elements were painted directly on top in Photoshop using a Wacom graphics tablet. Radiation warning symbols with a degraded, hand-sprayed quality, graffiti tags in the style of post-apocalyptic street art, paint drips, stencilled lettering, and freehand corrosion details were all drawn by hand rather than placed from stock.
Drawing them on the tablet rather than placing pre-made vectors kept the imperfection authentic. A radiation symbol that is perfectly geometric reads as a graphic. One that has been hand-applied over rust reads as a survivor's marking. That distinction drove every illustration decision on this project.
Phase 04, Print Preparation & Optimisation
Vinyl Layout: 8 Metres Saved
The available vinyl roll was 1.5 m tall by 25 m wide. The challenge at print prep was to nest all panels as efficiently as possible while satisfying two non-negotiable constraints: every piece had to maintain its intended printing direction so the texture grain would align correctly after installation, and each piece had to be arranged so the grain direction the printer laid it in matched the grain direction the panel would carry once installed.
After optimizing the layout, the total print area came down from the maximum 1.5 × 25 m to 1.5 × 17 m, saving 8 linear metres of premium vinyl without compromising any panel. Complementary overlay graphics for placement on top of the base vinyl were also prepared at this stage.
Available
Total roll available
Used after optimization
8 linear metres saved
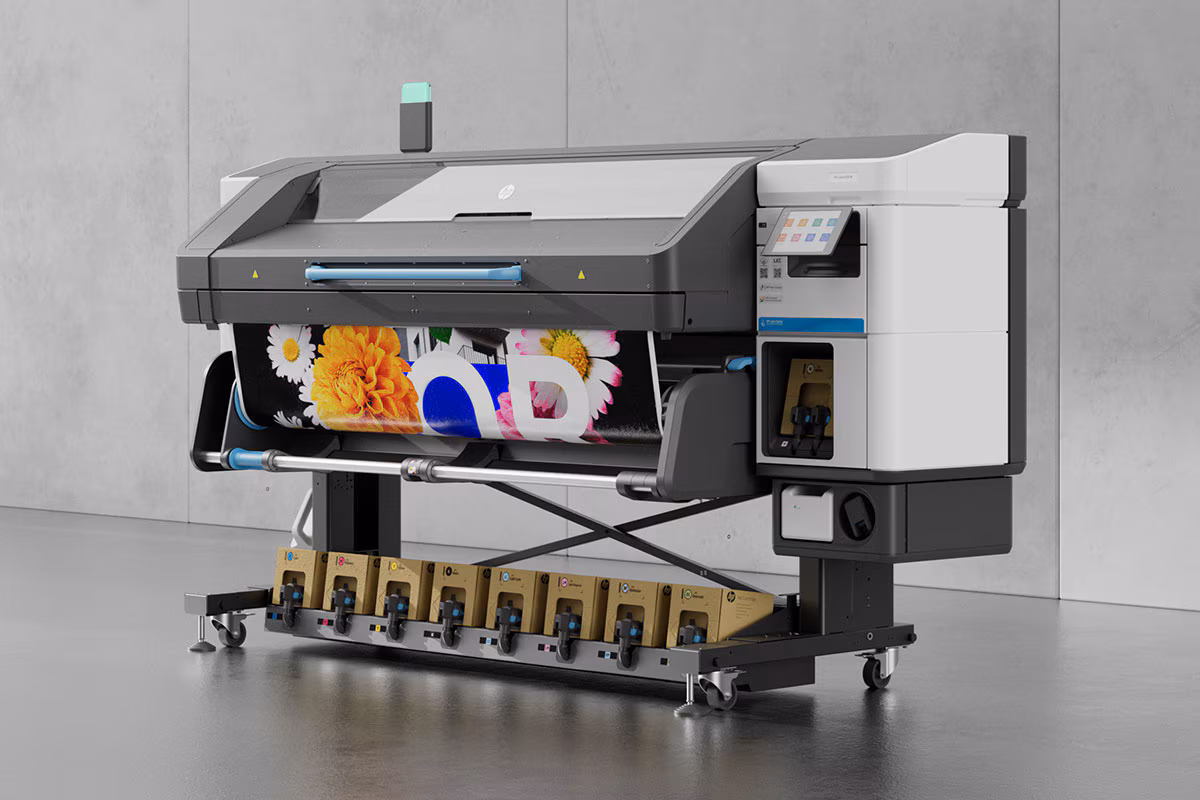
HP Latex 730, production printer
The file was sent to an HP Latex 730, a wide-format specialist printer that bonds latex-based inks into the vinyl surface rather than sitting on top of it, making the print more durable and eliminating off-gassing. After printing, the vinyl was laminated for surface protection, then cut on an external plotter guided by registration marks embedded in the print file.
Phase 05, Installation
Panel by Panel: 55 Hours
Installation was methodical. Each panel was approached individually: positioning the vinyl, tack-fastening it in place, checking alignment with adjacent panels, then working inward from one edge with a squeegee and heat gun. The widebody panels with their compound curves required careful heat application and deliberate stretching to prevent creasing or air pockets in the final result.
The total installation time was 55 hours. The result needed to hold both technically and visually. The seams had to be invisible, and the textures had to line up across panel boundaries exactly as designed.
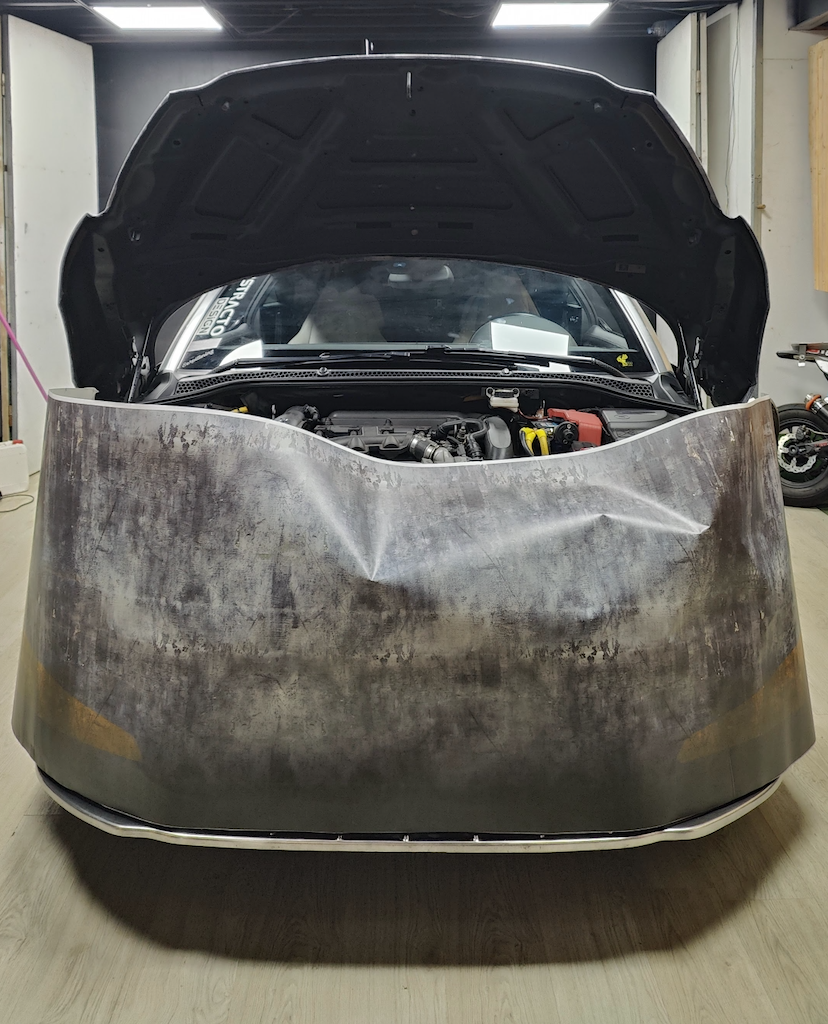
Positioning before application

Mid-installation
Toolchain
Full Stack, Analogue to Digital
This project required moving fluidly across digital design, physical production, and hands-on installation. The toolchain bridged all three.
Reflection
What I'd Do Differently
If I did this build again, I'd change where my 65 hours of design time went. The anti-tiling work, manually offsetting and hue-shifting textures so the rust and radiation grain wouldn't repeat, ended up being the single most time-consuming part of the project, more than the hand-drawn graffiti and radiation symbols that actually make the wrap distinctive. In hindsight I'd rather have automated or outsourced more of that texture prep and put the extra hours into the illustration work, since that's the part a client actually notices and the part that reads as a survivor's marking instead of a printed sticker. Doing every stage solo, design, print prep, and all 55 hours of installation, also meant there was no second pair of eyes checking panel alignment before the vinyl went on for good; it worked out here, but on a more complex bodykit I wouldn't want that margin for error again.